When we bought the boat we knew there were small osmosis bubbles below the waterline. We didn’t have time to really have an inspection done on this because we were now a few weeks off due to Corona, after the deal was closed we had 1 more week before we had to go back to work 6 days a week. We took the gamble and knew we had a big job ahead of us.
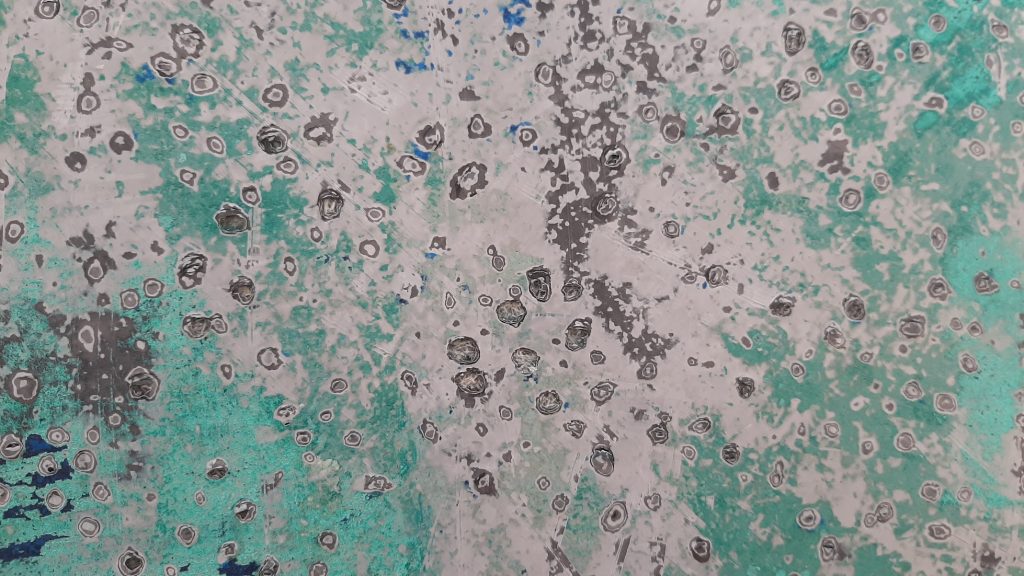
Stripping the boat under the waterline After spraying the boat clean and stripping it of the old layer of antifouling, it looked like a moonscape underneath. Fortunately, there wasn’t much acid in the little bubbles. Probably the former osmosis treatment had not been done properly. In any case, there was moisture between the polyester and the gelcoat.
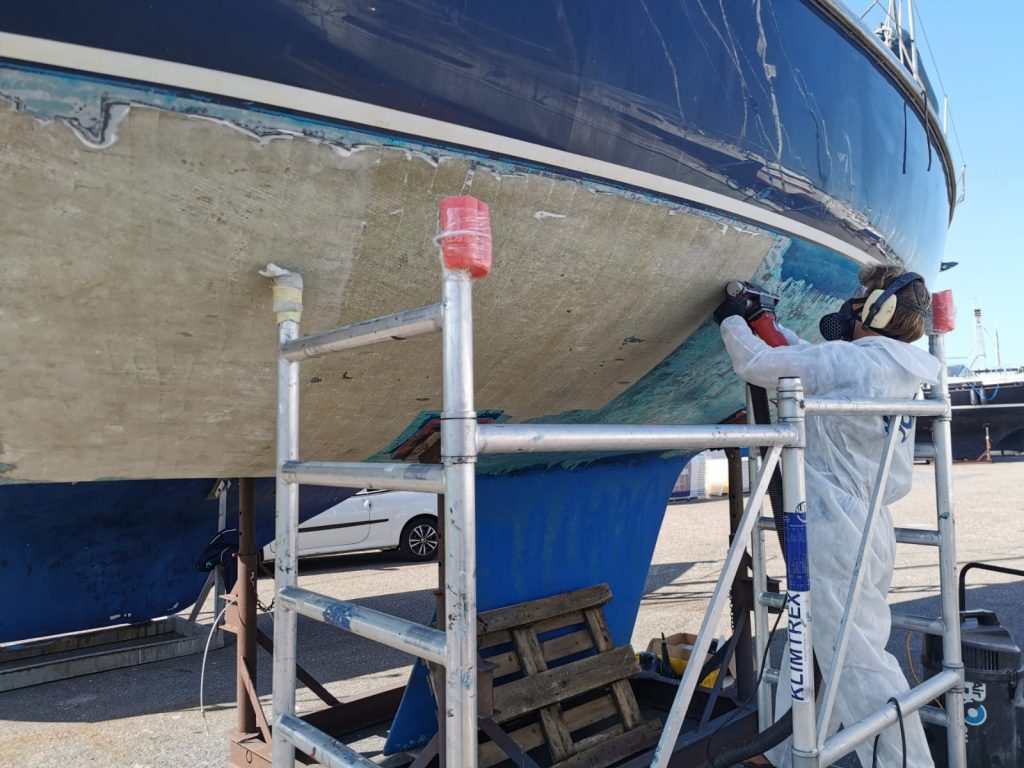
Since this damaged the gel coat well, we decided to take it off. The boat could then dry for the winter and then rebuild it completely in the spring. We rented a gelplane and Martijn used it to remove the gelcoat in a few days.
Drying the boat Six months later, the plan was to continue with this project. The boat had to be dry by then, we thought. Unfortunately, this was not the case. This was a major setback. Would we then not be able to sail this season?
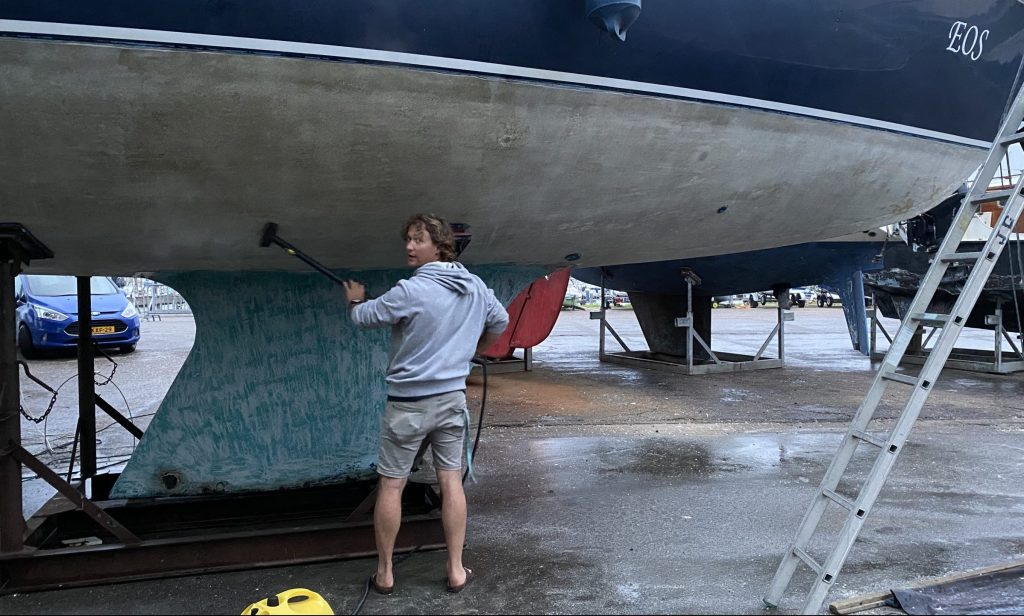
We tried all kinds of things to get the boat dry faster. Like regular rinsing with fresh water. (Salt water dries a lot less easily than fresh water). We even threated the boat with a steam cleaner. Unfortunately, our moisture meter kept giving negative numbers… We really had to be patient for a while and decided to give the boat a total refit if it could not go in the water this season. We put this project on hold for a year.
Building up under the waterline June 2022 was finally here. By now the boat had received a totally new look and now the last big project before it could enter the water was to rebuild the bottom! Exciting!
After thorough cleaning and double-checking that the moisture was really far enough out of the polyester, we started. The first coat was easy. We applied injection epoxy. This really soaks into the polyester and creates a protective layer.
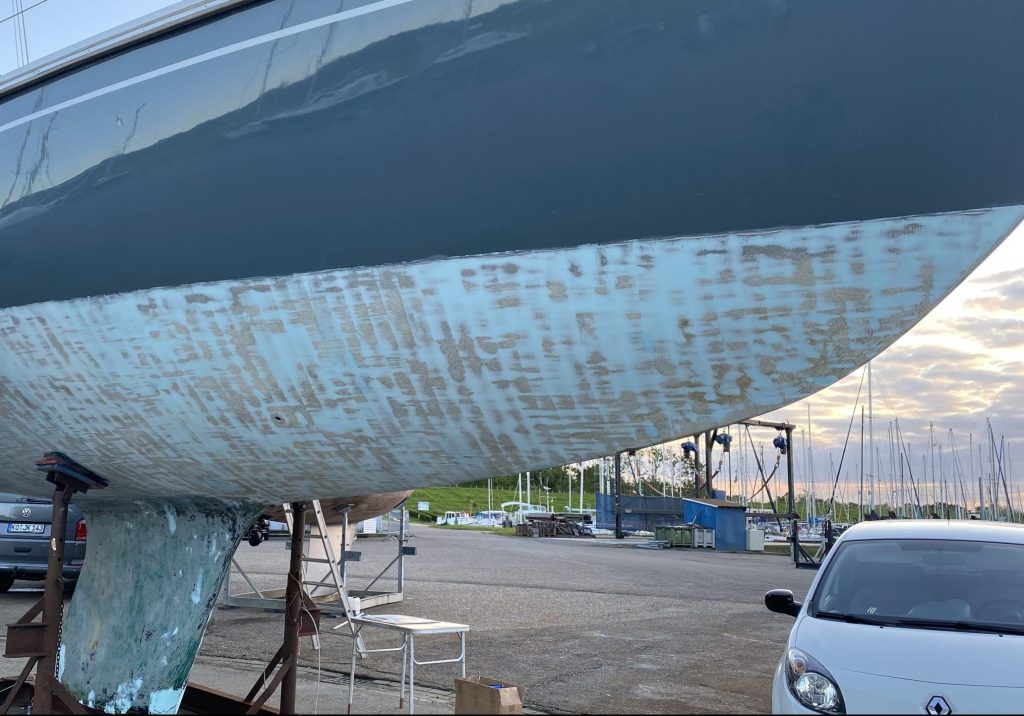
Because of the gelplane, the underside was no longer perfectly smooth. So this had to be puttyed. Quite a job if you don’t do this every day. You have to follow the curves of the boat, but also create a flat hull. After sanding and filling everything several times, this was the result:
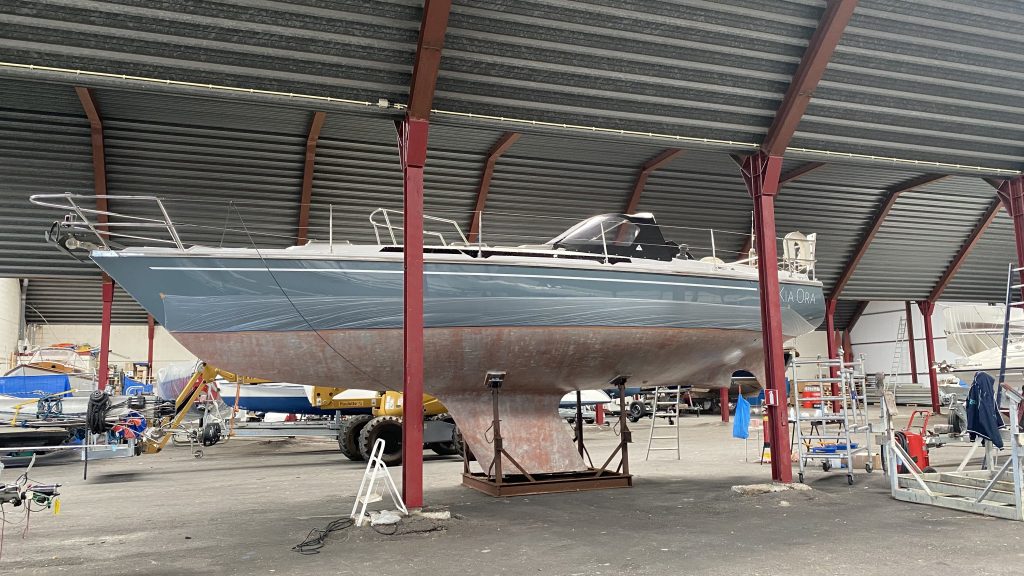
Primer and gellcoat Our final coat will be Coppercoat. Through England, where the company Coppercoat is located, we ordered a total package, from putty to final coat. It is important that the boat not only becomes watertight, but also vapor-tight. For this reason, several layers have to be applied several times.
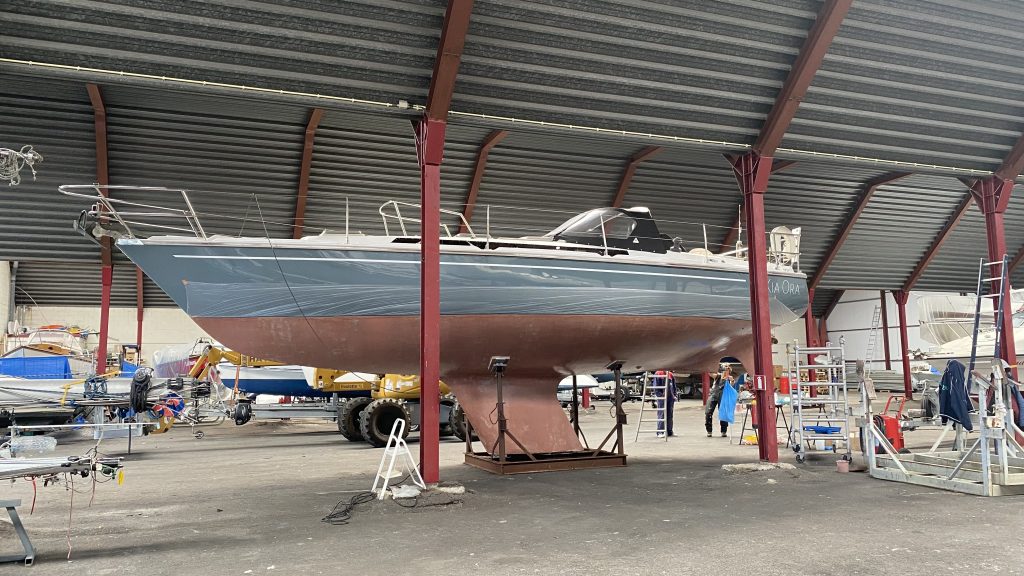
By now our boat was nice and smooth again, so we could get going with the anti-osmosis epoxy (Hempel High Protect 2). This had to be applied three times. Because we had this paint in 2 different colors, it was clear to see if you had done it all.
Nice to mention, the paint called anti-osmosis epoxy seems to have paid off. Doing some measuring of the boat later with the moisture meter, it was again a lot drier than when we started the build!
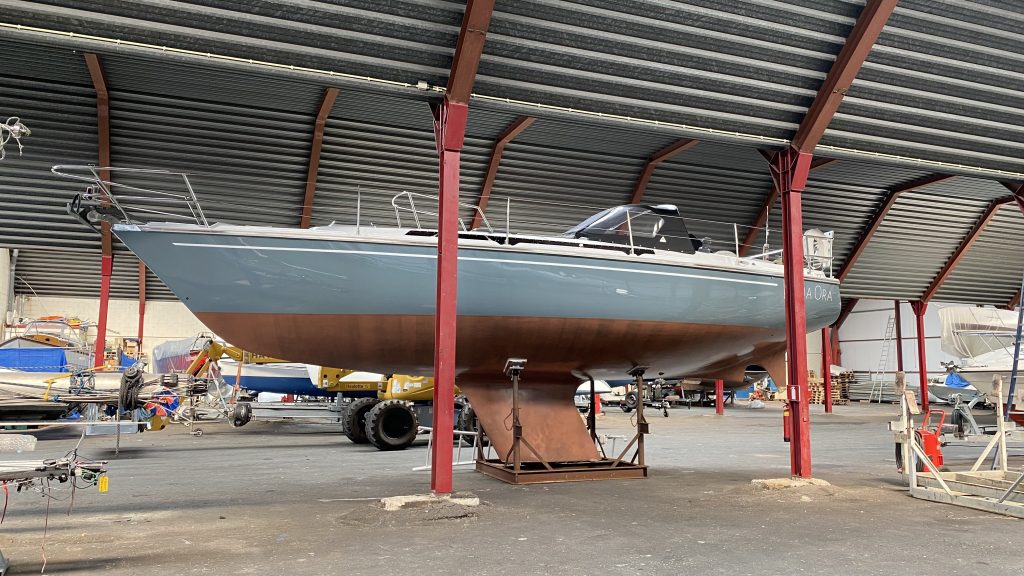
Finally, before we could actually begin the Coppercoat, we had to apply 1 coat of Light Primer epoxy tie-coat. A final coat that ensures that the Copper Coat adheres well.
Coppercoat We chose Coppercoat because it is an antifouling that does not come off in the water. It is a mixture of epoxy with copper. Because of the copper, it is effective. When applied properly, this product can continue to do its job underwater for years. We read on the Internet that several boats had the same Coppercoat on their boat for 15 years. The only maintenance, was sanding in between to reactivate the copper. Copper is bad for the environment, but we think it is better than alternatives antifoulings that have to be reapplied annually or every 2 years and release themselves into the water. Even if it is not a copper-based paint.
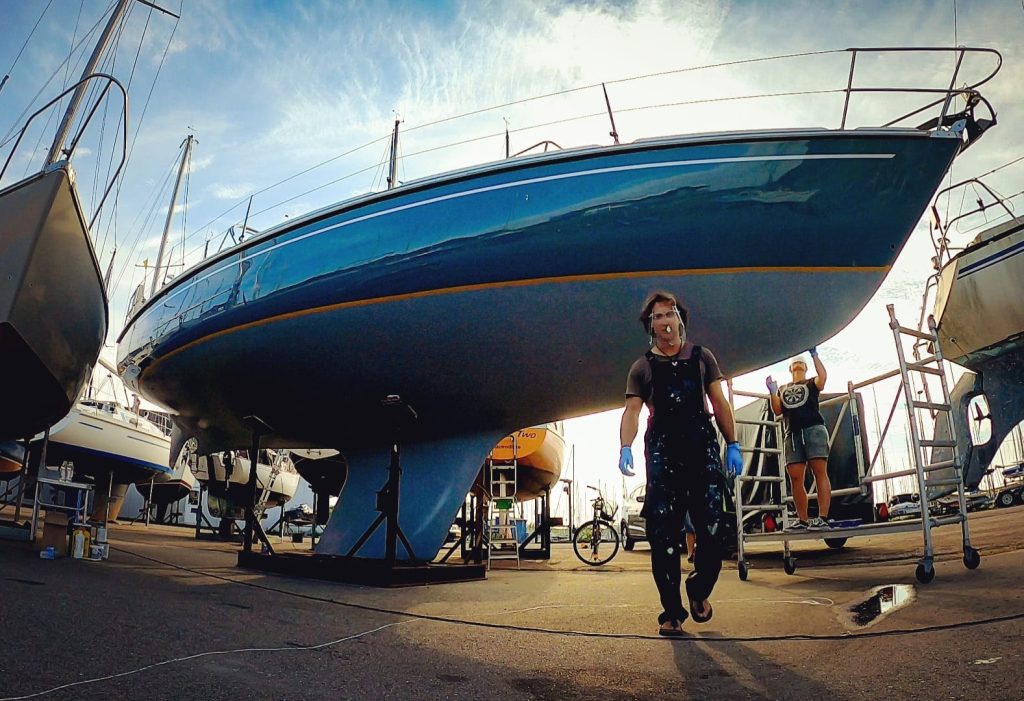
Before actually applying the Coppercoat, we were very nervous. For our budget, it was a very expensive product. In addition, we had read several stories on the Internet where mistakes had been made during application, resulting in a poorly functioning product! We wanted to avoid this at all costs. Coppercoat is an epoxy antifouling and very difficult to remove when applied incorrectly. After another good explanation from the supplier over the phone, we went to work. Application is a fairly heavy job that needs to be done by several people on a boat of our size. The copper makes the paint heavy, in addition you have to work within a time frame. Another coat must be applied on a sticky undercoat. So not completely wet, but not completely dry either. This causes the copper particles to form into a thick layer. So you cannot do several layers one day and then continue the next day. Everything has to be done one after the other. We gave the boat 6 coats of copper coat. Started 8:00 am and finished 5:00 pm. Quite a work day!
After painting, the boat cannot go into the water yet. The applied copper is now still under the epoxy. Sanding frees up the copper and allows it to do its job. It is then activated. Just don’t use a coarse grit for this. So it’s a job that takes quite a few hours. Hopefully after that we will be ready for the coming years.
We are now 1.5 years on. Last season we used a sponge to remove soft growth and a lot of shrimp from the boat. We did this 2 times during the season. The boat is discolored to green, but otherwise still nice and smooth!